How to Choose and Install a Floor to Ceiling Cat Tree in 5 Easy Steps
How to Give Your Cat the High Life: A Floor-to-Ceiling Cat Tree Guide
You know that look your cat gives you when they’re eyeing the top of your bookshelf? That’s their inner mountain lion calling. And honestly, I’ve always felt that traditional cat trees just don’t cut it—they take up way too much floor space and often wobble like a toddler’s first steps. That’s where floor-to-ceiling cat trees come in, and let me tell you, they’re absolute game-changers.
What Exactly IS a Floor-to-Ceiling Cat Tree?
Think of it as the skyscraper of the cat world. Unlike those clunky traditional trees that need wide bases for stability, these clever designs use tension between your floor and ceiling to create a rock-solid climbing paradise. The basic setup involves adjustable poles that stretch from floor to ceiling, decked out with platforms, perches, and scratching surfaces at various heights.
Why should you care? Well, three big reasons really stand out. First, they give your cat maximum vertical territory without hogging your precious floor space—perfect for apartments where every square foot counts. Second, that tension-based installation means incredible stability, even if you’ve got multiple cats or a Maine Coon who thinks he’s a small bear. And third, they tap right into your cat’s natural instincts: climbing, perching high to survey their kingdom, and scratching to their heart’s content.
The coolest part? Many modern designs are modular, so you can customize them with different platforms, hammocks, and scratching posts based on what your particular feline overlord prefers. Plus, the adjustable nature means they’ll fit whether you’ve got standard 8-foot ceilings or those fancy 10-foot ones.
Step 1: Take Stock of Your Space and Your Cat
Before you even think about buying, let’s do some detective work. Grab a tape measure and get your ceiling height exactly right—don’t forget to account for crown molding or any ceiling quirks. Most homes have 8-foot ceilings, but if you’re in a newer place, you might be dealing with 9 or even 10 feet. The good news is most adjustable cat trees handle heights from about 7 feet to 10 feet.
Now, look down at your floor. Carpet gives natural grip, which is awesome, but if you’ve got hardwood or tile, you’ll want to think about non-slip pads. And consider the room’s traffic flow—you want your cat to be able to watch the household action without being in the middle of foot traffic.
Here’s where it gets personal: think about your cat’s specific needs. Got a big breed like a Maine Coon? You’ll need sturdier construction and larger platforms. Is your cat an energetic climber? Multiple tiers will keep them entertained. Older or less mobile cats might prefer easier access with lower platforms. And if you’ve got multiple cats (lucky you!), wider platforms and multiple perches can help prevent territorial squabbles.
Step 2: Pick the Perfect Features
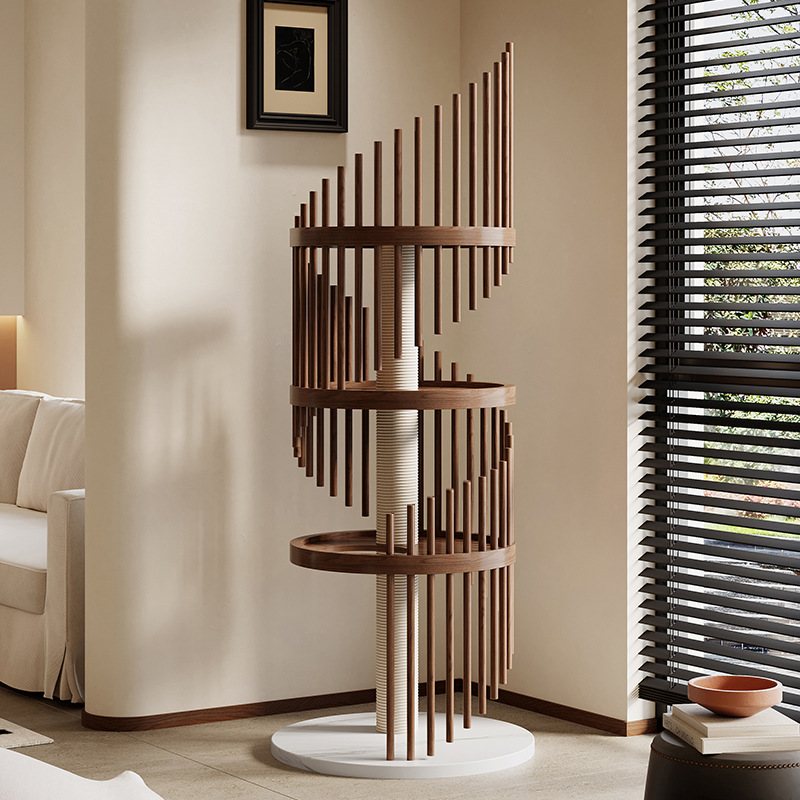
Choosing the right floor-to-ceiling cat tower is like building your cat’s dream home—you want to get the details right. The number of tiers matters more than you might think. A 3-tier model gives plenty of climbing fun while staying stable. Look for platforms that are at least 12×12 inches—bigger cats will appreciate 16×16 inches or more.
Scratching surfaces come in different flavors, each with their own perks. Sisal rope is tough as nails and satisfies that deep scratching urge, while carpeted surfaces feel cozy and warm. Some of the nicer models mix both materials, which is like giving your cat the best of both worlds.
The construction materials tell you a lot about durability and style. Metal poles with spring-loaded tension mechanisms are super stable, while wood gives a more natural look. Pay attention to weight capacity too—quality trees should handle at least 30-40 pounds per platform.
And don’t forget the extras! Enclosed cubbies for when your cat needs some alone time, hanging toys for entertainment, and removable cushions for easy cleaning can make a big difference. The best part? Many modern designs look so sleek they actually enhance your home’s decor rather than cluttering it up.
Step 3: Get Your Installation Game Plan Ready
Proper prep work makes the installation process smooth and ensures long-term safety. Gather your tools: a sturdy ladder (safety first!), tape measure, level, and whatever specific hardware came with your cat tree. Most floor-to-ceiling models keep it simple—usually just an adjustable wrench or some Allen keys.
Safety is everything here. Make sure you’ve got clear access without furniture in the way. Check your ceiling type—standard drywall works great, but if you’ve got popcorn ceilings or something fragile, you might need special considerations. And if you have suspended or drop ceilings, definitely check the manufacturer’s guidelines because those usually can’t handle the tension.
Protect your floors, especially if you’ve got hardwood or delicate surfaces. Felt pads or rubber mats under the base components will prevent scratches. Make sure you’ve got enough clearance from walls (usually 6-12 inches) for proper tension adjustment.
Before you start putting things together, do a quick inventory—make sure you have all the pieces the instruction manual says you should. Get familiar with how the adjustment mechanism works, whether it’s twisting collars, spring-loaded pins, or some other clever system.
Step 4: Install with Confidence
This is where it all comes together—secure installation is non-negotiable for your cat’s safety. Start by assembling the main pole structure following the manufacturer’s instructions. You’ll typically connect multiple pole sections to get the right height.
Position the assembled pole between floor and ceiling, making sure it’s perfectly vertical. Use your level to check from different angles—this part matters more than you might think. Most adjustable cat trees have a twisting or locking mechanism; slowly extend the pole until it makes firm contact with both surfaces. You want enough tension to prevent wobbling but still allow a little compression (about 1/4 to 1/2 inch) when weight is applied.
If you’ve got particularly active cats or multiple pets, you might want extra security. Some models come with ceiling plates or additional stabilization brackets. Make sure all platforms and perches are securely attached, paying attention to weight distribution—heavier components usually go lower on the structure.
Test everything by applying moderate pressure to different points. The whole structure should stay firm without shifting. Make any final tension adjustments, then double-check that all locking pins, screws, or collars are fully engaged.
Step 5: Introduce Your Cat and Keep It Fresh
Getting your cat to love their new climbing paradise takes some strategy and patience. Start by making it familiar—place your cat’s favorite blanket, toys, or even an unwashed t-shirt with your scent nearby. A little catnip on the platforms or some pheromone spray can work wonders for creating positive associations.
Encourage exploration through play. Use wand toys to guide your cat upward, and when they make that first successful climb, reward them with treats and praise. But here’s the important part: don’t force it. Some cats might take to it immediately, while others might need days or even weeks to fully embrace their new vertical territory. They’ll get there in their own time.
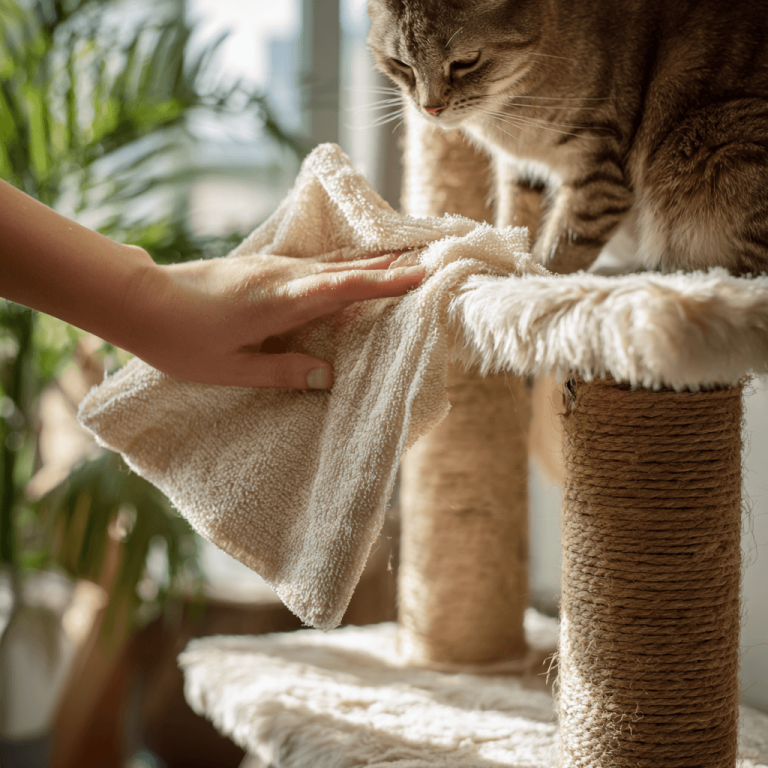
Maintenance keeps everything working well and hygienic. Vacuum carpeted surfaces weekly to clear out hair and debris. For sisal scratching posts, gently brush away loose fibers to keep the texture appealing. Check the tension monthly—changes in humidity throughout the seasons can affect how things fit between floor and ceiling.
Every few months, do a thorough inspection. Look for wear on platform attachments, scratching surfaces, and the main tension mechanism. Tighten anything that’s loose right away. With proper care, a quality floor-to-ceiling cat tree can provide years of service, making it one of the best long-term investments you can make in your cat’s happiness and well-being.
By following these five steps, you’re not just installing furniture—you’re creating a safe, engaging environment that satisfies your cat’s deepest instincts while fitting beautifully into your living space. The right floor-to-ceiling cat tree becomes more than just a piece of equipment; it’s an essential part of your cat’s physical and mental health, giving them the high life they truly deserve.